Unleash the Fun: The Joy of Homemade Play Dough Plus Easy Recipes!
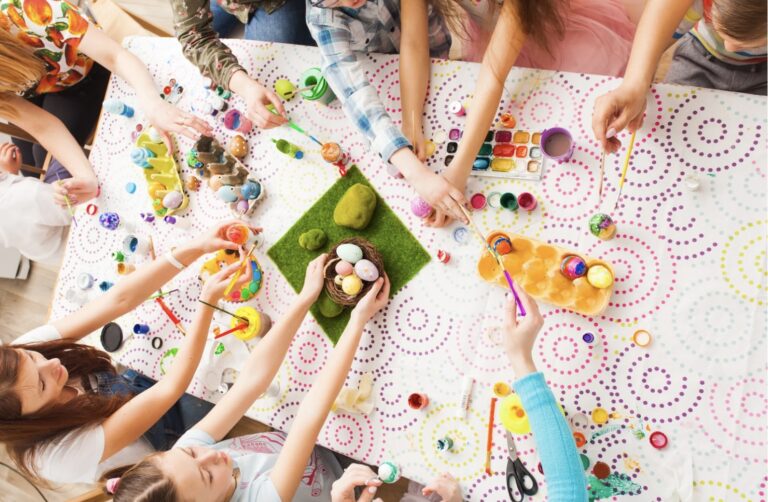
Here at Playful Preschooling, we believe that the best learning often happens through hands-on exploration and joyful play. And what’s more versatile and engaging than a big, squishy ball of play dough? Not only is it fantastic for developing fine motor skills and sparking creativity, but making your own play dough at home is also a fun and budget-friendly activity you can enjoy with your little ones!
Forget store-bought tubs – the process of creating your own play dough is a sensory adventure in itself. From measuring and mixing to the satisfying squish of the dough coming together, your preschoolers will be involved in every step. Plus, you get to control the ingredients and even customize the colors and scents!
Why Make Your Own Play Dough? The Playful Perks!
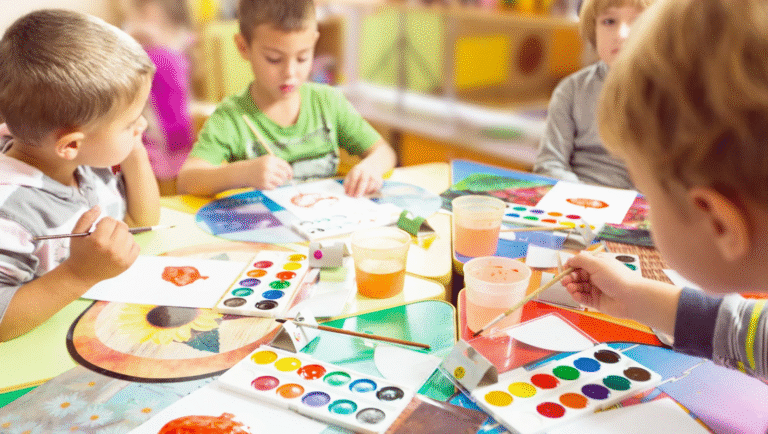
- Sensory Exploration: The tactile experience of mixing, kneading, and playing with play dough is wonderful for sensory development.
- Fine Motor Skills: Rolling, squeezing, pinching, and shaping play dough strengthens little hand muscles, preparing them for writing and other important tasks.
- Creativity Unleashed: Play dough is an open-ended material that encourages imaginative play. It can become anything your child dreams up – a pretend cake, a wiggly worm, or a magical creature!
- Budget-Friendly Fun: Making play dough at home is significantly cheaper than buying it regularly.
- Customization Station: You can easily adjust the colors, add glitter, or even incorporate calming scents like lavender or invigorating citrus.
- A Fun Activity Together: The process of making play dough is a wonderful opportunity for bonding and learning together.
Ready to dive into the squishy fun? Here are a few easy play dough recipes you can try at home:
Homemade Playdough Recipe 1
Ingredients
- 1 cup all-purpose flour
- 1/2 cup salt
- 2 teaspoons cream of tartar
- 1 cup warm water
- 1 tablespoon vegetable oil
- Food coloring (liquid or gel)
Let’s Get Squishing!
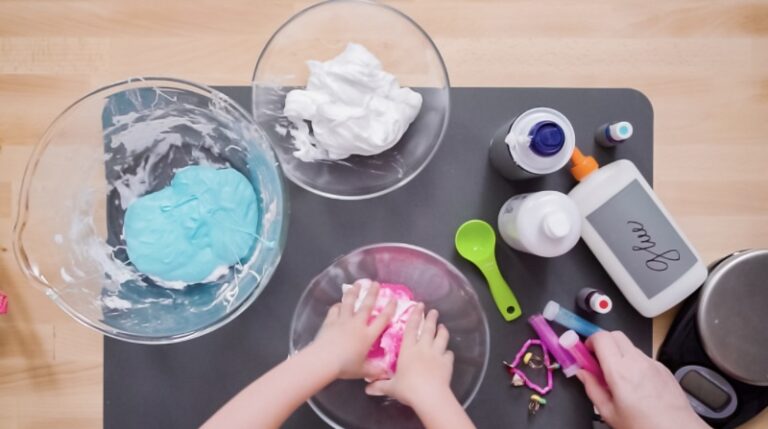
- Mix the Dry: In a medium saucepan, whisk together the flour, salt, and cream of tartar. Get those little arms involved in the stirring!
- Color the Wet: In a separate bowl, mix the warm water and vegetable oil. Now comes the fun part – add drops of food coloring until you achieve your child’s favorite shade. Let them help with this (with supervision, of course!)
- Combine and Cook: Pour the colorful wet ingredients into the saucepan with the dry ingredients. Stir, stir, stir over low to medium heat.
- Watch the Magic Happen: Keep stirring! The mixture will start to thicken and form a ball of dough that pulls away from the sides of the pan. This usually takes just a minute.
- Cool Down: Remove the dough from the pan and let it cool slightly on a clean surface. It will be hot, so this is a grown-up step!
- Knead it Out: Once it’s cool enough to touch, let your child help you knead the dough for a few minutes until it becomes smooth elastic.
- Store for More Fun: Keep your amazing homemade play dough in an airtight container or zip-top bag to keep it soft for many playful sessions.
Recipe 2: The Speedy No-Cook Play Dough (for Instant Gratification!)
Need play dough in a flash? This no-cook recipe is super simple and quick to whip up!
What You’ll Need:
- 1 cup all-purpose flour
- 1/2 cup salt
- 1/2 cup warm water
- 1 tablespoon vegetable oil
- Food coloring (liquid or gel)
Quick & Easy Steps:
- Dry Mix First: In a mixing bowl, have your little one help you stir together the flour and salt.
- Color the Wet: In a separate bowl, mix the warm water, vegetable oil, and your chosen food coloring.
- Combine and Stir: Pour the colorful wet ingredients into the bowl with the dry ingredients. Stir it all together until a dough starts to form.
- Knead to Perfection: Turn the dough out onto a lightly floured surface and let your child help you knead it until it’s smooth and no longer sticky. If it feels too sticky, just add a tiny bit more flour (a teaspoon at a time). If it’s too dry, add a tiny drop of water.
- Ready to Play! This play dough is ready for action right away! Remember to store it in an airtight container.
Recipe 3: Play Dough with a Twist (Using Vinegar or Lemon Juice)
No cream of tartar on hand? No problem! This recipe uses vinegar or lemon juice as an alternative.
What You’ll Need:
- 1 cup all-purpose flour
- 1/4 cup salt
- 3/4 cup warm water
- 1 tablespoon vegetable oil
- 3 tablespoons vinegar or lemon juice
- Food coloring (liquid or gel)
Let’s Get Mixing!
- Warm the Wet: In a saucepan, gently warm the water, oil, and vinegar or lemon juice over medium-low heat. Stir in your desired food coloring.
- Dry Ingredients Unite: In a separate bowl, mix together the flour and salt.
- Combine Slowly: Gradually add the dry ingredients to the warm wet ingredients, stirring constantly until a ball of dough forms.
- Cool and Knead: Remove the dough from the heat and let it cool down a bit. Once it’s cool enough to handle, knead it on a clean surface until it’s smooth and no longer sticky.
- Store it Right: Keep your homemade creation in an airtight container to maintain its squishiness.
Playful Ideas to Spark Creativity with Your Homemade Play Dough:
- Cookie Cutter Fun: Use cookie cutters in various shapes to create fun designs.
- Rolling Pin Adventures: Explore different textures by rolling the dough flat and making imprints with toys or natural materials.
- Sensory Add-Ins: Mix in dried herbs, glitter, or even small beads (with supervision for younger children) for added sensory exploration.
- Pretend Play Props: Use play dough to create food for a pretend kitchen, build animals for a play zoo, or sculpt characters for storytelling.
- Letter and Number Formation: Encourage early literacy and numeracy by having your child shape letters and numbers with the play dough.
Making your own play dough is more than just a recipe; it’s an invitation to playful learning and creative exploration. So gather your little ones, get your ingredients ready, and enjoy the squishy, colorful fun of homemade play dough! Don’t forget to share your playful creations with us in the comments below! Happy playing!